In the world of materials science and metallurgy, understanding the internal structure of metals is key to ensuring their performance, reliability, and safety in various applications. Whether in the automotive industry, aerospace, construction, or manufacturing, metal alloys are used in critical components that undergo significant stress, pressure, and environmental exposure. Defects in these alloys—whether microscopic cracks, inclusions, voids, or phase inconsistencies—can lead to catastrophic failures, reduced lifespan, or suboptimal performance.
To detect these defects and ensure the quality of metal alloys, metallographic microscopes are indispensable. These specialized microscopes allow scientists and engineers to examine the microstructure of metals, providing detailed insights into their composition and potential weaknesses.
Content
What Are Metallographic Microscopes?
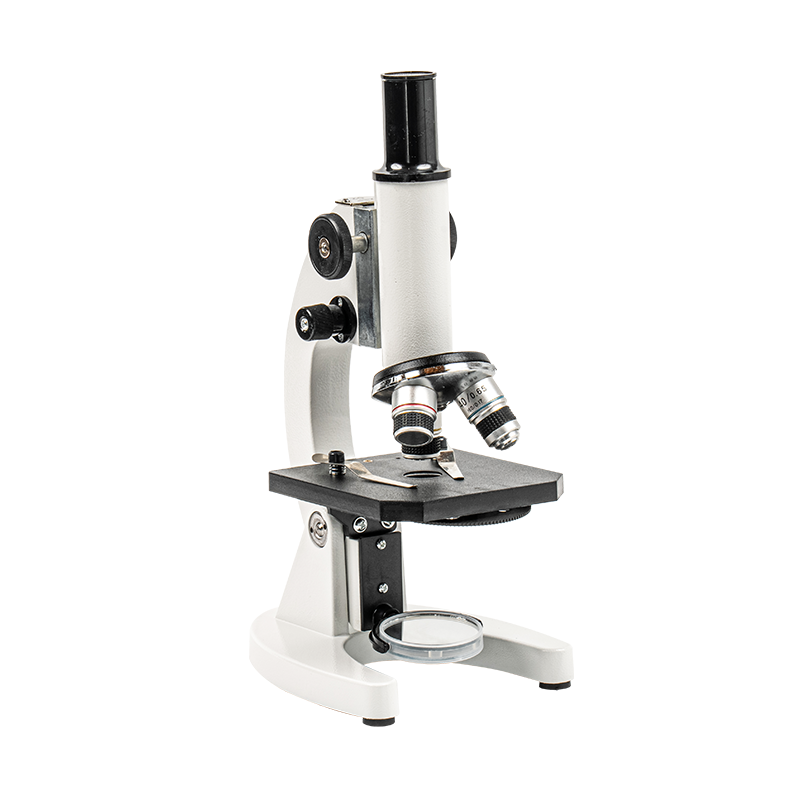
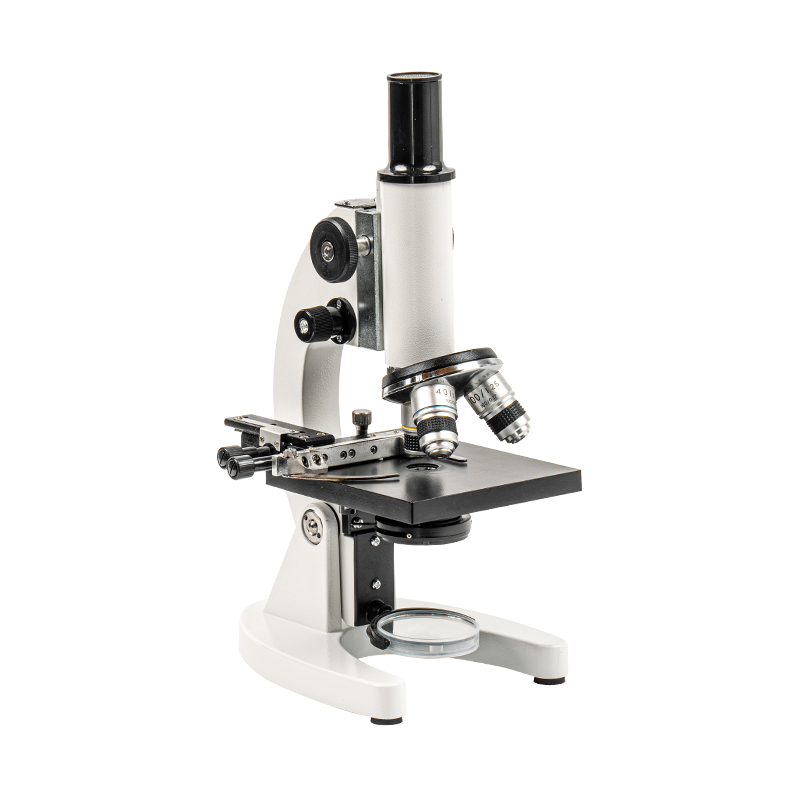
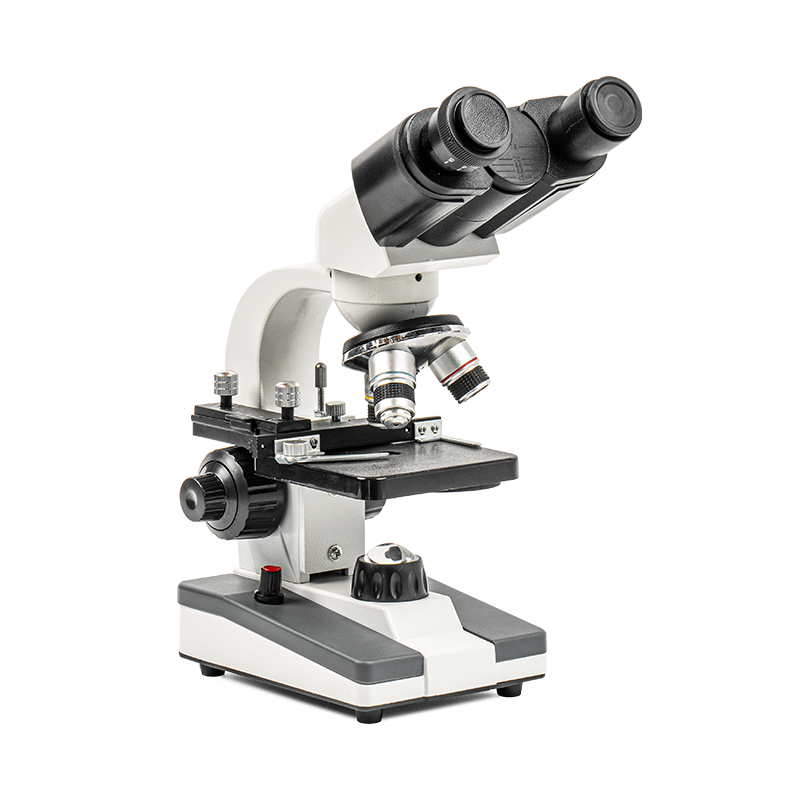
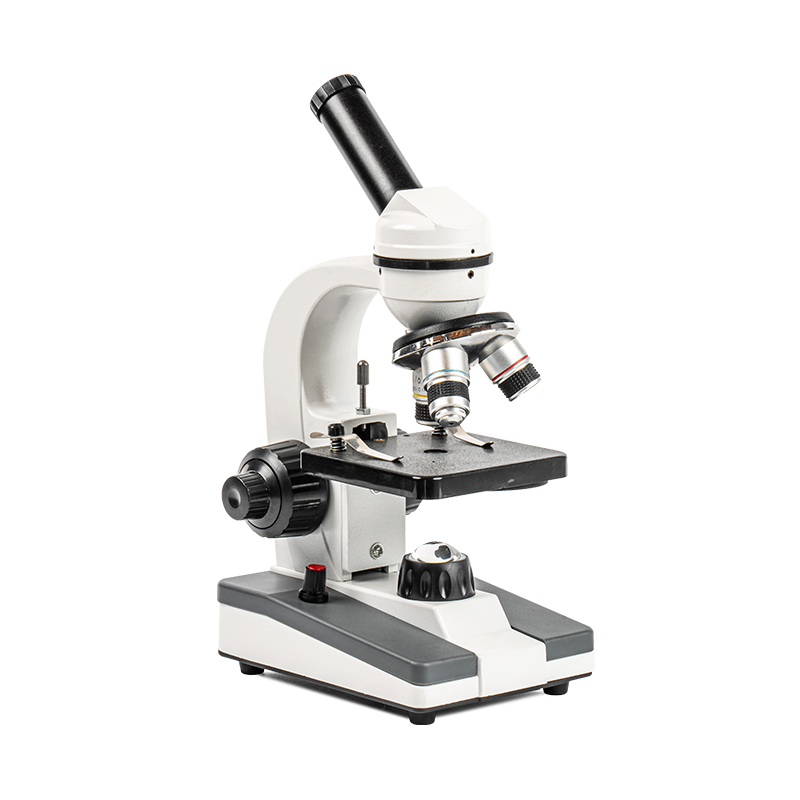
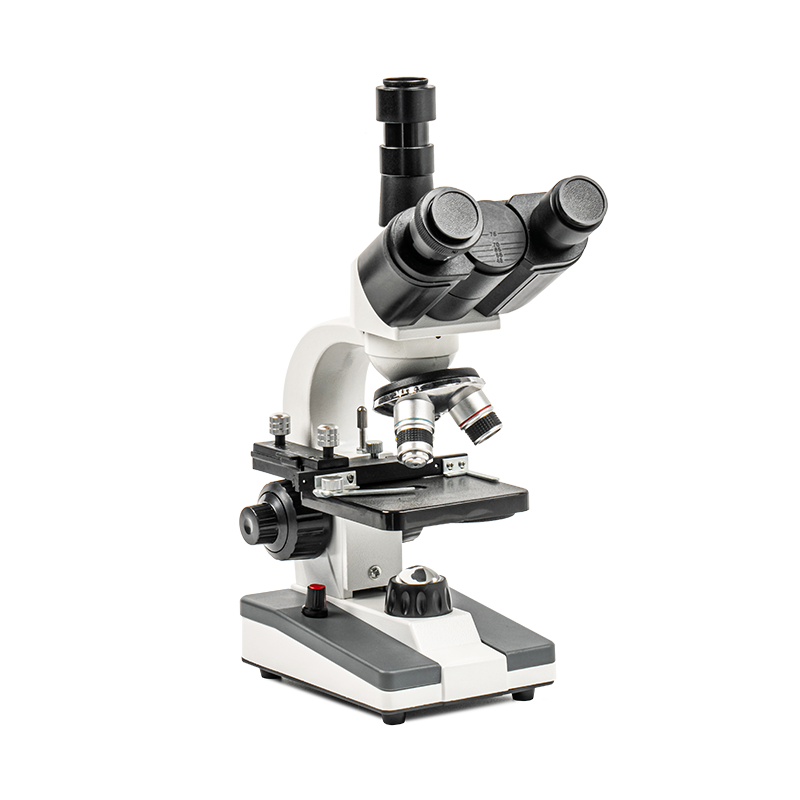
Metallographic microscopes are advanced optical instruments designed to observe the microstructure of metallic materials. Unlike standard optical microscopes, metallographic microscopes are equipped with features such as polarizing filters, high magnification capabilities, and specialized illumination techniques to provide clear images of the fine structure of metal alloys.
These microscopes enable the examination of surface features and internal structures of metals, including the distribution of grains, phases, inclusions, cracks, and porosity. Metallographic microscopes are commonly used in conjunction with sample preparation techniques such as polishing, etching, and cutting, which reveal the material's microstructure in high detail.
How Metallographic Microscopes Detect Defects in Metal Alloys
The detection of defects in metal alloys is a critical part of quality control and failure analysis. By providing detailed images of the material’s structure, metallographic microscopes help identify potential issues before they lead to serious problems. Here’s how metallographic microscopes are used to detect various types of defects in metal alloys:
Grain Structure and Boundaries
The grain structure of a metal refers to the arrangement of individual crystals or "grains" in the material. Grains play a crucial role in determining the mechanical properties of the alloy, including its strength, ductility, and toughness. Improper cooling or processing during manufacturing can lead to defects like grain boundaries that are too coarse, leading to weak points in the material.
Metallographic microscopes can help engineers detect grain size irregularities and non-uniform grain boundaries that may compromise the integrity of the metal. High magnification allows for the identification of grain boundary cracking, which can be indicative of potential failure sites under stress.
Inclusions and Impurities
Inclusions are foreign particles or impurities that become trapped within the metal during the manufacturing process. These can include oxides, sulfides, silicates, or even non-metallic inclusions such as dirt or dust. Inclusions can act as stress concentrators, making the material more susceptible to cracking or corrosion, especially in high-stress environments.
By examining metal alloys under a metallographic microscope, technicians can identify the type, size, distribution, and concentration of inclusions. This is critical in industries where material purity is essential, such as aerospace or automotive manufacturing. A high level of inclusions can compromise the alloy's mechanical properties, such as fatigue resistance and tensile strength.
Porosity and Voids
Porosity refers to the presence of small voids or air pockets within the metal. These are often the result of gas bubbles trapped during the casting process or from improper welding techniques. Porosity can weaken the metal, leading to premature failure under load, and is especially problematic in pressure-bearing components like pipelines, engines, and turbine blades.
Metallographic microscopes are essential for detecting micro-porosity in metal alloys. By preparing thin cross-sections of the alloy, technicians can observe any internal voids and assess their distribution and size. Porosity often requires corrective measures during the manufacturing process, such as improving the casting or welding technique, to ensure structural integrity.
Cracks and Microcracks
Microcracks can form within metal alloys during manufacturing or as a result of mechanical stresses during operation. These small cracks are often not visible to the naked eye but can propagate over time, leading to catastrophic failure. Identifying microcracks early is crucial in preventing material failure, particularly in safety-critical applications like aerospace components, pressure vessels, and structural materials.
Metallographic microscopes allow for the detection of cracks that may be invisible during initial visual inspections. Through etching techniques and high-resolution imaging, small cracks or fatigue cracks can be detected and measured for their length and depth. Understanding crack propagation helps engineers design materials with better resistance to cracking under stress.
Phase Transformations and Alloy Homogeneity
Many metal alloys, especially stainless steels, tool steels, and high-performance alloys, consist of different phases or microstructures. The distribution of these phases—such as martensite, austenite, or pearlite—can greatly affect the material’s mechanical properties. If the phases are not uniformly distributed or if there is phase segregation, the alloy can experience reduced toughness, hardness, or corrosion resistance.
Metallographic microscopes are used to analyze phase distribution in alloys, especially in materials that undergo heat treatment processes. Etching is a common technique to highlight different phases, enabling technicians to identify areas of phase transformation, misalignment, or segregation. This information is crucial for ensuring that the metal will perform as expected under operating conditions.
Weld Joints and Heat-Affected Zones (HAZ)
Welds are common sources of defects in metal alloys, as the process of welding often leads to localized changes in the material's microstructure. The heat-affected zone (HAZ), the area around the weld that experiences temperature changes during the welding process, can exhibit grain growth, microcracking, or phase changes that may compromise the weld’s strength.
Using metallographic microscopes, engineers can examine the weld interface and HAZ to ensure that the joint is free from defects like undercutting, porosity, and cracks. This is essential for ensuring the long-term durability of welded components, particularly in industries like oil and gas, where weld integrity is crucial for safety.
Corrosion Resistance and Surface Degradation
Corrosion can significantly degrade the performance of metal alloys over time, especially in harsh environments such as marine, chemical, or high-temperature applications. Metallographic microscopes can be used to study corrosion patterns at a microscopic level, helping engineers understand how the alloy reacts to exposure to environmental factors like moisture, chemicals, and temperature fluctuations.
By examining the surface and sub-surface structures of metals, metallographic microscopes can reveal areas of localized corrosion, pitting, or stress corrosion cracking. Identifying these issues early allows for better material selection, coatings, or preventative measures to mitigate the effects of corrosion.
The Benefits of Metallographic Microscopes in Detecting Defects
- Early Detection of Weaknesses: Early identification of defects like inclusions, porosity, and cracks helps prevent material failure and extends the lifespan of components.
- Improved Quality Control: Metallographic microscopes enable thorough quality control, ensuring that materials meet industry standards and performance requirements.
- Cost Savings: Detecting defects early in the production process can reduce the costs associated with material failure, recalls, or repairs.
- Enhanced Safety: In critical applications like aerospace and automotive industries, identifying defects in metal alloys helps ensure the safety and reliability of products.
- Better Materials Selection: Understanding the microstructure of metals enables engineers to select the best materials for specific applications, optimizing performance and longevity.

 English
 Español
 عربى
عربى 中文简体
中文简体