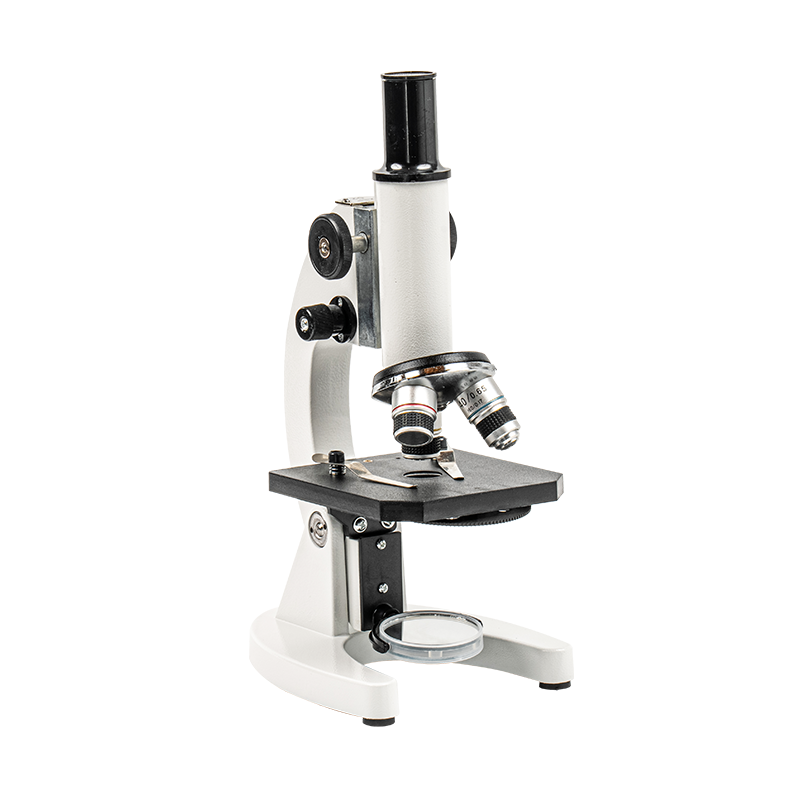
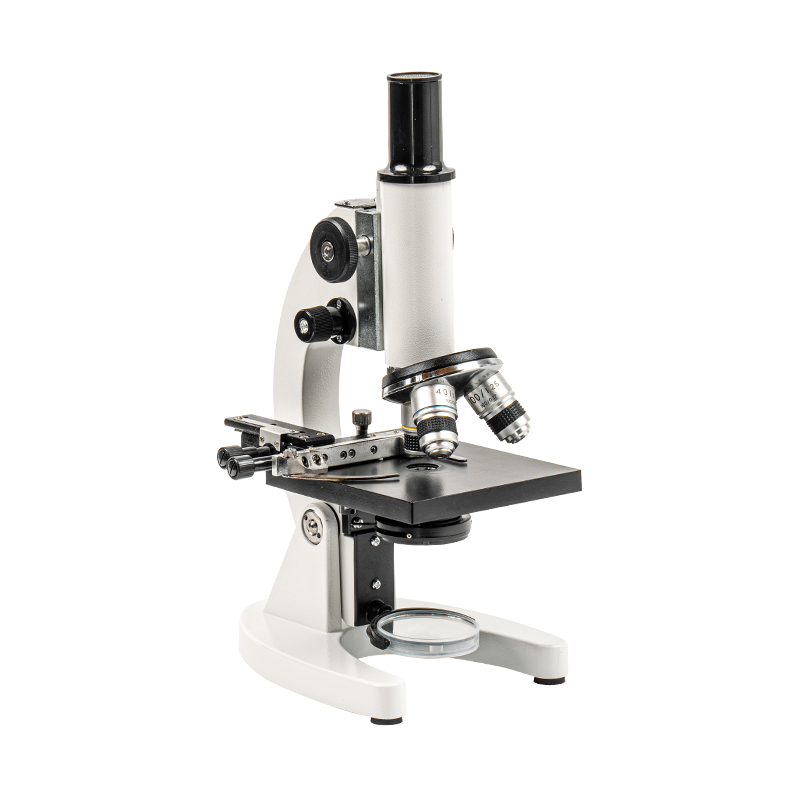
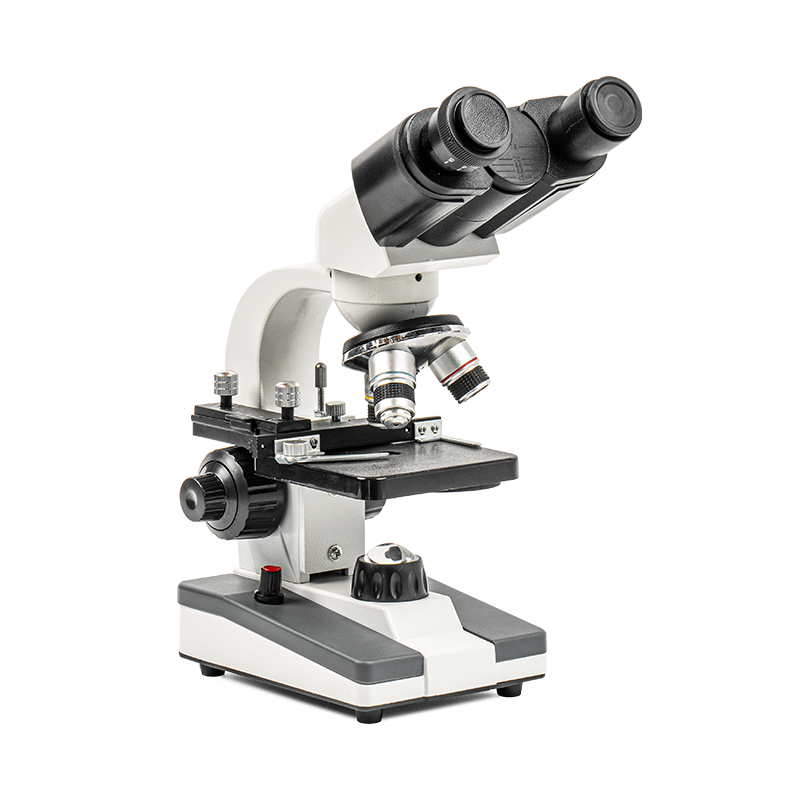
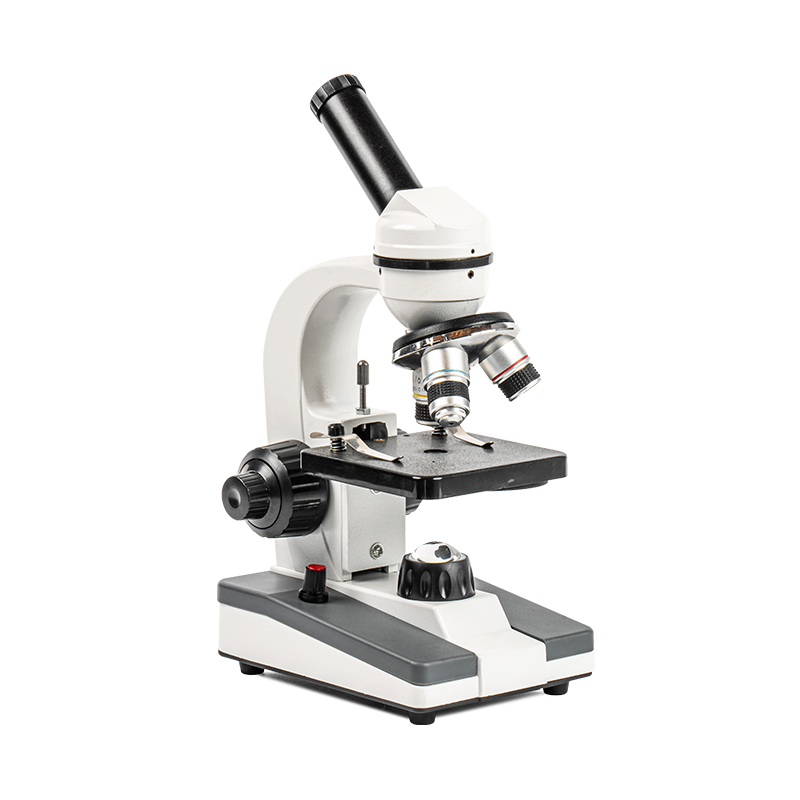
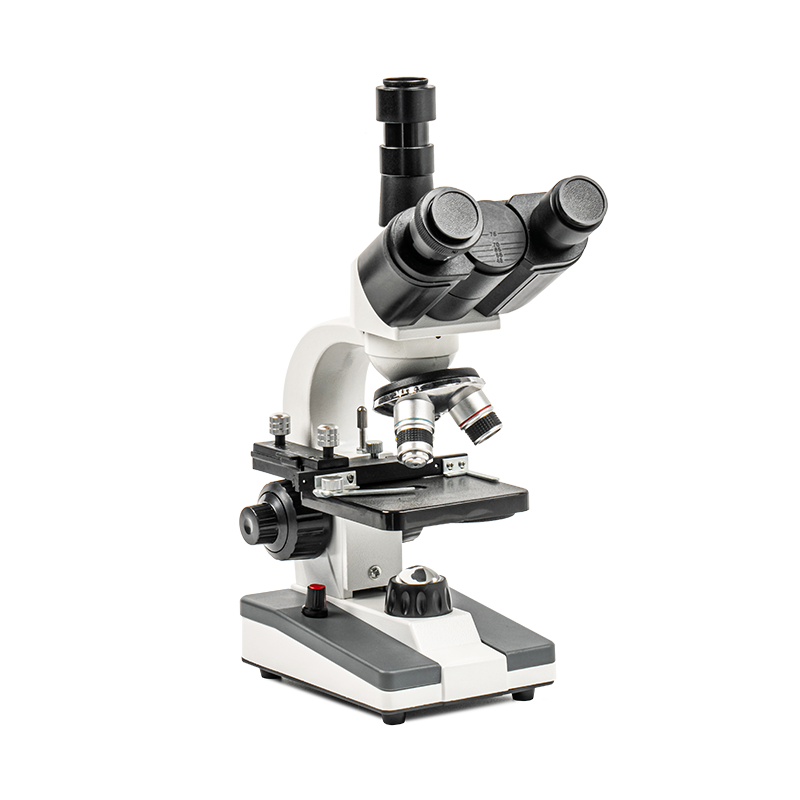
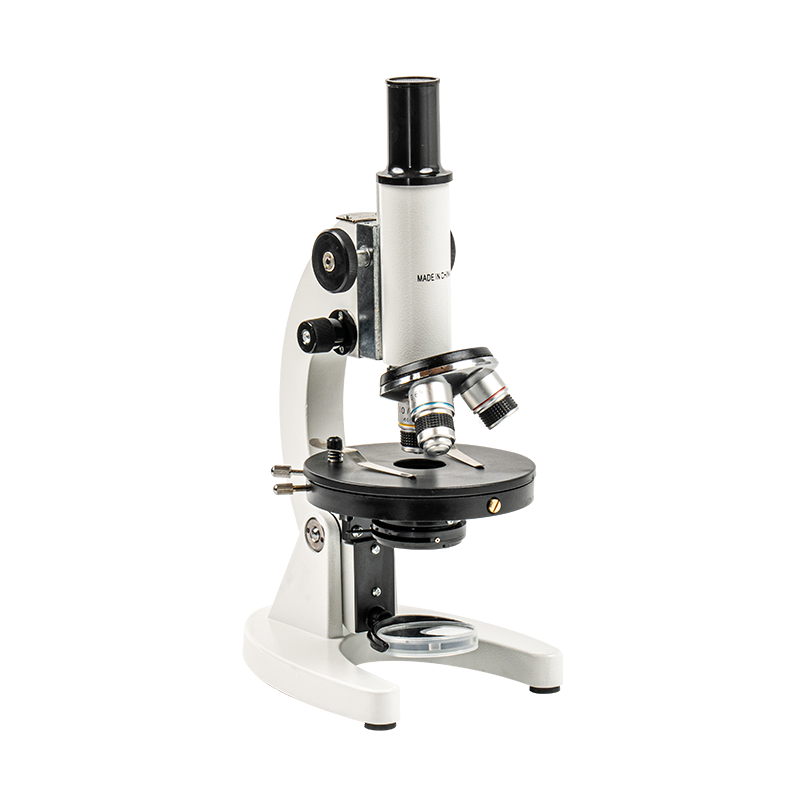
In the world of material science and engineering, detecting metal fatigue and cracks is critical to ensuring the safety, reliability, and performance of metal components used in high-risk industries. From aerospace and automotive manufacturing to energy and infrastructure, the consequences of unnoticed metal fatigue can be catastrophic, causing structural failures, safety hazards, and significant economic losses. Fortunately, metallurgical microscopes have become invaluable tools in detecting these issues, enabling researchers to examine metals at an incredibly detailed level and uncover defects that could lead to failure.
While metal fatigue and cracks are often invisible to the naked eye, metallurgical microscopes provide the necessary precision to identify even the smallest imperfections in a material’s structure. With advancements in technology, these microscopes have evolved into powerful instruments capable of revealing the minute details of a material’s microstructure, helping experts detect early signs of fatigue or cracks before they can propagate into more severe issues.
Content
The Importance of Detecting Metal Fatigue and Cracks
Before exploring how metallurgical microscopes help identify these flaws, it’s essential to understand the significance of detecting metal fatigue and cracks early.
Metal fatigue is the progressive and localized damage that occurs when a material is subjected to repeated cyclic loading or stress. This repetitive stress weakens the material over time, leading to microscopic cracks that grow slowly but steadily. Fatigue can occur under normal operating conditions, especially in environments where materials are exposed to high pressure, frequent vibrations, or fluctuating temperatures.
Once metal fatigue begins, it can lead to catastrophic failures, especially in industries where components are critical to safety. For example, a small fatigue crack in the wing of an aircraft or the brakes of a car can escalate into a structural failure, risking lives and property. Detecting these cracks and understanding their progression is essential to ensuring the longevity and reliability of the material before it fails under stress.
Cracks, on the other hand, can form from a variety of sources, including manufacturing defects, environmental conditions, or external forces. These cracks may initially be very small but can grow quickly, compromising the structural integrity of metal components. Cracks that are left undetected can lead to failures in pipelines, turbine blades, and even the frames of buildings.
Because these issues often develop without obvious signs, detecting them early through microscopic inspection is key to preventing disasters. This is where metallurgical microscopes come into play, offering the precision and magnification needed to identify cracks and signs of fatigue at their earliest stages.
How Metallurgical Microscopes Help Detect Metal Fatigue and Cracks
Metallurgical microscopes are essential tools for detecting metal fatigue and cracks due to their ability to magnify metal samples and capture the finest details of a material’s structure. These microscopes can magnify up to 1000x or more, allowing researchers to examine the internal and surface structures of metals that would otherwise be invisible to the naked eye. Let’s explore how metallurgical microscopes assist in identifying fatigue cracks and metal degradation.
High Magnification for Microstructural Analysis
The most significant advantage of metallurgical microscopes is their high magnification capabilities, which allow researchers to examine metals at microscopic levels. At these magnifications, they can detect microscopic cracks, deformation, and other minute signs of fatigue that would otherwise go unnoticed.
Researchers can analyze the metal’s grain structure—the arrangement and orientation of individual crystals within the material—and identify whether the grain boundaries have been disrupted. These disruptions often signal the onset of fatigue or stress, particularly in metals that have been subjected to repeated loading.
Metallurgical microscopes provide a detailed view of these microstructural features, such as the size, shape, and orientation of the grains. Any inconsistency in these features, such as non-uniform grain boundaries or areas of stress concentration, can indicate fatigue damage that will likely propagate into larger cracks if not addressed. By providing these early indicators, metallurgical microscopes enable early intervention and corrective measures to prevent catastrophic failure.
Detection of Micro-Cracks on Surfaces
Fatigue cracks usually begin at the surface of the material and grow deeper into the structure as the material experiences repeated stress. Metallurgical microscopes allow researchers to examine the surface morphology of metal components in stunning detail, detecting cracks, pits, and other imperfections that may be invisible to the naked eye.
Using polarized light, a common feature in many metallurgical microscopes, researchers can enhance the contrast between surface defects, making cracks more visible. This is especially useful when inspecting materials under high magnification, where small surface flaws or micro-cracks can be easily overlooked.
For example, in the automotive industry, a suspension arm or engine block may develop tiny cracks due to repeated stress from the vehicle's movements. With a metallurgical microscope, engineers can detect these cracks early, helping to prevent the part from failing during use. In aerospace, where metal fatigue can compromise the integrity of vital components such as wing spars or engine components, early detection is even more critical.
Fracture Surface Analysis
When a metal component fractures due to fatigue, the fracture surface often holds clues about the nature and progression of the damage. A fracture in a fatigued material typically displays specific characteristics, such as striations, beach marks, and ratchet marks, which are indicative of the incremental growth of the crack.
Metallurgical microscopes are instrumental in examining these fracture surfaces. The microscope reveals how a crack grew over time, based on the unique features on the fracture surface. These features provide insights into how repeated stress cycles contributed to the failure, as well as the point of initiation for the crack.
For instance, beach marks often form when cracks propagate through the material in a stepwise fashion, with each step corresponding to a stress cycle. Striations are fine, parallel lines on the fracture surface that indicate microscopic crack growth during each cycle. By studying these features, metallurgists can better understand how the metal responded to stress and predict how future cracks may behave.
Evaluating Material Composition and Grain Structure
In addition to detecting cracks, metallurgical microscopes also allow researchers to evaluate the chemical composition and grain structure of a material. Alloys and composites often exhibit different fatigue characteristics based on their composition, and inconsistencies in the material’s grain structure can affect its resistance to fatigue.
Using energy-dispersive X-ray spectroscopy (EDX) or electron microprobe analysis, researchers can assess the presence of certain alloying elements or impurities in the metal, which can contribute to weak spots that are more prone to cracking or failure. This is particularly important when working with high-performance alloys used in aerospace, nuclear, or energy sectors.
Through the use of a scanning electron microscope (SEM), metallurgists can also study the grain structure at higher magnifications, helping to identify if the metal has been affected by environmental stresses, such as corrosion or oxidation. By understanding these structural characteristics, researchers can predict how the material will perform under stress, including how it will handle cyclic loading over time.
Assessing Material Fatigue Through Strain Analysis
Metallurgical microscopes equipped with strain analysis tools can help researchers assess how metals deform under stress. These tools detect how much the material has strained and whether it has exceeded its elastic limit, which is often the point where fatigue damage begins. Strain analysis can also reveal areas of stress concentration that are more likely to develop cracks as the material experiences repeated stress.
By examining how metals behave under different strain conditions, researchers can better understand the material's fatigue life and its ability to withstand cyclic loading before failure occurs. This information is particularly valuable for engineers designing parts that will be exposed to repetitive forces, such as in machinery, engines, or structural components.
Applications Across Industries
The ability to detect fatigue cracks and metal degradation early is vital across several industries where metal components are subject to constant stress and pressure. Here are some key sectors that benefit from metallurgical microscopes:
Aerospace Industry
Aerospace components, from jet engines to aircraft wings, are subject to extreme stresses and forces. Metallurgical microscopes help ensure that critical parts are free from cracks and fatigue, preventing catastrophic failures that could result in accidents. The early detection of cracks in materials used for engine turbines or landing gears is vital for maintaining flight safety.
Automotive Industry
Metallurgical microscopes are used extensively in the automotive industry to detect cracks in parts like engine blocks, brake components, and suspension systems. These parts experience constant vibrations and stress during use, making them prone to fatigue. Regular inspections using metallurgical microscopes help manufacturers ensure that components meet strict safety standards.
Energy Sector
In power plants, particularly nuclear reactors and gas turbines, metal fatigue can lead to catastrophic failures. Metallurgical microscopes are used to inspect pressure vessels, turbine blades, and reactor components to detect early signs of fatigue, corrosion, or cracks that could jeopardize the safety and functionality of the plant.
Infrastructure and Construction
Metallurgical microscopes are used to assess the quality of metals used in bridges, buildings, and other large-scale structures. Early detection of fatigue cracks in steel beams, reinforced concrete, and foundations ensures the integrity and safety of infrastructure projects.

 English
 Español
 عربى
عربى 中文简体
中文简体